OceanBase Developer Handbook, Part 3: How to Become an OceanBase Contributor
Abstract
This article guides you through becoming an OceanBase Contributor—even a complete beginner can become one.
The OceanBase Developer Handbook mainly guides developers on how to participate in OceanBase development, clearing obstacles you may encounter while preparing to contribute. This section covers the following articles, with more to be added in the future. For now, the OceanBase source code references the Open-Source Database OceanBase Source Code Walkthrough series on the OceanBase open-source official site:
- How to compile the OceanBase source code
- How to set up an IDE development environment
- How to become an OceanBase Contributor
- How to edit the OceanBase documentation
- How to debug OceanBase
- How to run tests
- How to fix bugs
Steps
Preparation
- Register an account on https://github.com. If you already have one, skip this step.
- Because GitHub no longer allows you to submit code with a username and password, you need to create your own token to push code. See https://docs.github.com/cn/authentication/keeping-your-account-and-data-secure/creating-a-personal-access-token, and use the new token in place of the old password when pushing.
- Fork https://github.com/oceanbase/oceanbase to your own GitHub account.

If you’ve already forked the code, click the following on GitHub: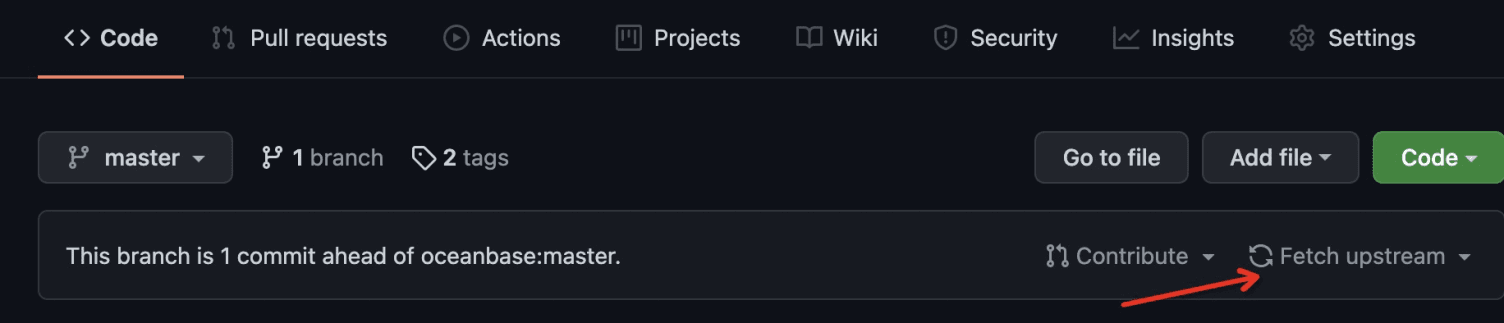
- Prepare the build environment. Refer to the document how-to-build.
Writing Code
- Download the code locally:
1 | # git clone https://github.com/${user}/oceanbase |
Note: ${user} is your username.
- Find a simple issue at https://github.com/oceanbase/oceanbase/issues.
We recommend finding a typo issue—fixing these is relatively simple and easy to get started with.
https://github.com/oceanbase/oceanbase/issues?q=is%3Aissue+is%3Aopen+label%3Atypos
Create the corresponding branch:
1 | # git checkout -b issue${issue_number} |
Note: ${issue_number} is the issue’s number.
- Modify the code in an IDE. We recommend VS Code with its remote connection feature.
- After modifying the code, compile it:
1 | #bash build.sh debug --init --make |
Wait about 10 minutes.
- Start the unit tests. If you only modified comments or documentation, you don’t need to run the unit tests.
1 | # cd build_debug/unittest/ |
The whole process takes about 1 hour.
Committing Code
1 | # git status |
Note: ${modified_file} is the modified file. Then:
1 | git add ${modified_file} |
Note: ${issue_number} is the issue’s number.
Your commit message must include “fixed ${issue_number}”, which links the issue number to the pull request. Then:
Create a pull request: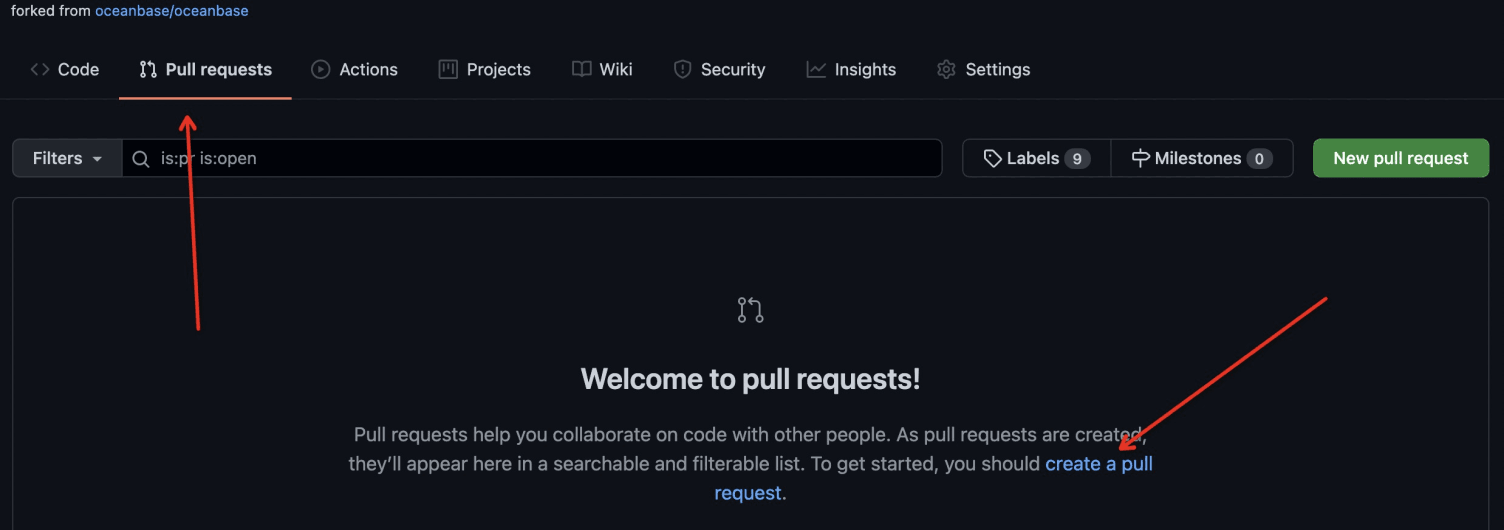
That’s it.
After creating the pull request, you need to sign the CLA. If you’ve already signed it, it looks like this:
Then wait for OceanBase’s official team to approve it.
Other Notes
Be Careful When Switching Branches
When you’re fixing several bugs at once, switch back to master after submitting each pull request, to avoid the pull requests interfering with one another.
1 | git checkout master |
When Conflicts Occur
The master branch of your fork may conflict with the remote master branch. When this happens, on your forked branch, delete the conflicting commit, then merge the remote branch.
- Delete commit records:
1 | git reset --soft HEAD~i |
Here i represents how many commits back you want to restore to; for example, if you set i = 2, it restores to the version from the two most recent commits ago. –soft keeps your local file changes while resetting the commit history.
- Run:
1 | git push origin master --force |
Here master is the current branch.