Summary
On November 16, 2023, OceanBase held its annual conference and officially announced the 4.2.1 LTS version. Starting from 4.2.1, 4.2.x will be a Long Term Support release, with subsequent ongoing releases such as 4.2.2, 4.2.3, 4.2.4, 4.2.5, and so on—very friendly to users. Future system upgrades can be performed as rolling upgrades, with no need to worry about reworking and upgrading the application layer; data can also be upgraded locally, even smoothly upgraded without service interruption. More importantly, future users will all migrate to 4.2.x, and as the user base grows, stability will keep being strengthened.
Once the kernel version is basically stable, and the tooling ecosystem—such as obd, ocp, and oms—is also basically stable in terms of framework and process, it is worth running a comprehensive round of testing to uncover some usability issues and help future users onboard more easily.
Test Outline
- OBD installation and deployment
- OBD inspection optimization
- tpcc testing
- sysbench testing
- tpch testing
- obdiag log collection
- Using OBD, scale up a single node into cluster mode
- Using OBD, vertically scale up the cluster (add machines within a single replica)
- Using OBD, horizontally scale out the cluster (add replicas)
- Using OBD, horizontally scale in the cluster (remove replicas)
- Using OBD, vertically scale down the cluster (remove machines within a single replica)
- failover test, when running sysbench, restart one server.
- ocp installation and deployment
- ocp takes over an OBD-deployed cluster
- ocp installs an OB cluster (single-node primary-standby mode)
- Using OBD, scale up a single node into cluster mode
- Using OBD, vertically scale up the primary cluster (add machines within a single replica)
- Using OBD, horizontally scale out the primary cluster (add replicas)
- Using OBD, horizontally scale in the primary cluster (remove replicas)
- Using OBD, vertically scale down the primary cluster (remove machines within a single replica)
- Using NFS, back up the primary cluster and restore the standby cluster
- Using NFS, back up the standby cluster; after a switchover, restore the original primary cluster
- oms installation and deployment
- tpch data synchronization to MySQL
- binlog service installation
- Under a sysbench test, configure the binlog service to synchronize to MySQL
Software Versions
Kernel version: 4.2.1_CE_BP1_HF1
OBD version: 2.4.0
OCP version: 4.2.1
OMS version: 4.2.0
obdiag diagnostic tool: 1.4.0
OBLogProxy (binlog service): v2.0.0
Hardware Configuration
The machine configuration running observer (since this is only a functional test, no higher-spec hardware was chosen)
aliyun ecs:
4c/32g amd instance
3 disks
Deployment Topology
This example uses the classic three-replica deployment topology with 4 machines:
- 1 machine deploys OBProxy – it is recommended to deploy the client application together with OBProxy to reduce first-hop network latency.
- 1-1-1 deploys a three-replica OceanBase cluster, where each zone represents one replica; in this example, a zone contains only one machine. The three zones are often deployed in production as a “three data centers across two regions” topology, with three data centers and three replicas—one replica per data center—where two of the data centers are relatively close to each other.
Software and Hardware Requirements
| Item | Description |
|---|---|
| OS | Red Hat Enterprise Linux Server 7.x (kernel Linux 3.10.0 or above) CentOS Linux 7.x (kernel Linux 3.10.0 or above) Anolis OS 8.x (kernel Linux 3.10.0 or above) |
| CPU | Enterprise users: minimum 16 cores, 32 cores or more recommended Personal testing: minimum 2 cores, 8 cores or more recommended |
| Memory | Enterprise applications: minimum 64G, 256G or more recommended Personal testing: minimum 8G, 64G or more recommended |
| Disk type | SSD recommended |
| Disk space | 4x the memory size or more |
| File system | ext4 or xfs; when the data volume exceeds 16TB, use xfs |
| Network card | Gigabit interconnect or above |
Set Up Passwordless SSH Login
Before installation, you need to configure the environment on each machine. These settings must be performed as the superuser. It is recommended to set up trusted login (i.e., passwordless login) from the control machine to the OBServer and OBProxy machines. For how to set up passwordless SSH login, see https://open.oceanbase.com/docs/community/oceanbase-database/V3.1.0/optional-set-password-free-ssh-logon
Here are two recommended scripts that make it easy to run commands and copy files in bulk across the cluster.
Bulk file copy—you can replace the host list with your own actual list of machines:
1 | #/usr/bin/bash |
Bulk command execution—you can replace the host list with your own actual list of machines:
1 | /usr/bin/bash |
Create a User
For personal testing, you can use the root account directly. For enterprise users, it is recommended to create a regular user to avoid security risks to the system. In this example, admin is used as a demonstration; enterprise users can use whichever account they commonly use, according to their own needs.
1 | useradd -U admin -d /home/admin -s /bin/bash |
Set the password
1 | passwd admin |
Set sudo privileges
vi /etc/sudoers # add one line for oceanbase
1 |
|
Disk Planning
The OceanBase database server relies on 3 directories. For personal testing, you can place all data on a single disk, but for enterprise users, you must mount 3 disks separately: the data disk, the transaction log disk, and the OBServer installation disk. When a machine does not have 3 disks, or when a RAID disk array is used, you need to partition the disk or the logical volume of the disk array into 3 partitions; for partition sizes, refer to the description below:
Data disk
- The configuration parameter is data_dir. Plan the data disk according to business needs. The data disk holds the baseline data; physically there is only one baseline data file, block_file, located in the installation directory under store/sstable. It is created in one shot when the OBServer process starts, and its size follows a disk pre-allocation strategy based on the startup parameter datafile_disk_percentage (default 95%); the size cannot be adjusted after creation. OceanBase scales in and out by adding or removing machines, and currently does not support disk-level scaling up or down on a single machine.
Transaction log disk
- The configuration parameter is redo_dir. The recommended size is 3 to 4 times the OBServer memory or more. The transaction log disk contains multiple fixed-size small files, located in the installation directory under store/{clog,ilog,slog}, created and purged automatically as needed. When the disk reaches 80%, self-purge logic is triggered, but only on the condition that the in-memory data corresponding to this portion of log data has already been merged and fused into the baseline data—only then can it be deleted. For the same amount of data, the size of the transaction logs is about three times the size of the in-memory data. Therefore, the upper bound of space required by the transaction log disk is proportional to the total volume of business data between two merge operations; the empirical formula is: transaction log file size = 3 to 4 times the in-memory upper limit of incremental data.
OBServer installation disk
The configuration parameter is home_path. 200G or more is recommended (to retain 7 or more days of logs). OceanBase’s rpm package installs under /home/admin/oceanbase, where the baseline data file and the transaction log file are symlinked to the two separate disks mentioned above. There is also another continuously growing file—the OB runtime log—located in the installation directory under log. The OB process itself cannot self-delete the runtime logs; a scheduled task or operations script is needed to handle the deletion logic.
After dividing the disks, you can check with the df -h command; the result looks like this:
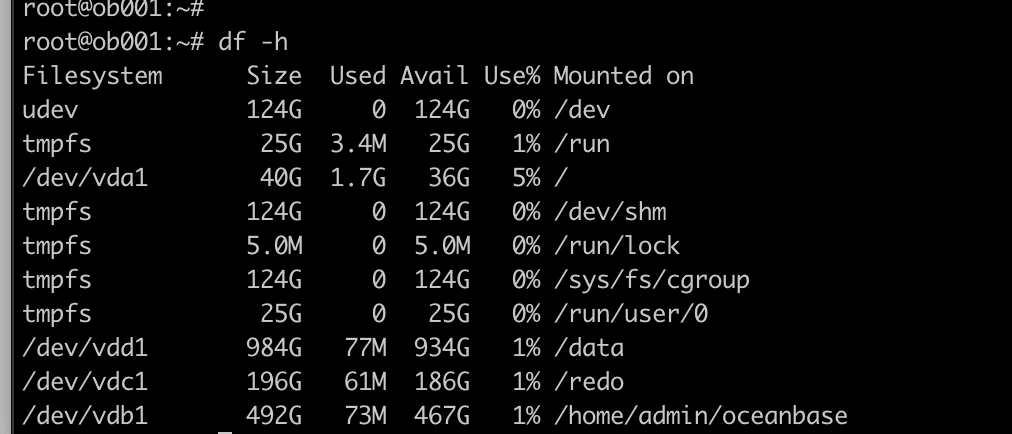
In this example: /data is the data disk with a size of 1TB, /redo stores redo logs, and /home/admin/oceanbase stores the oceanbase binary and runtime logs.
Check directory permissions
1 | ls –al # run this command |
Pre-checks
For enterprise users, it is recommended that all OBServer machines have consistent hardware and software configurations (operating system, OS kernel, glibc, python, and other software packages), and that the OBProxy machines and OBServer machines have consistent software configurations (operating system, OS kernel, glibc, python, and other software packages).
Check the Operating System
The currently supported operating systems are:
Red Hat Enterprise Linux Server 7.x (kernel Linux 3.10.0 or above)
CentOS Linux 7.x (kernel Linux 3.10.0 or above)
- Log in to the server as the root user
- Check the OS version
A RedHat 7 system displays as follows
1 | [root@redhat-04 /root]#cat /etc/redhat-release |
A CentOS 7 system displays as follows:
1 | [root@centos-01 /root]#cat /etc/redhat-release |
On an anolis system:
1 | [root@anolis ~]# cat /etc/os-release |
On other systems, such as Debian 9, it displays as follows:
1 | root@ob001:~# cat /etc/os-release |
On an ubuntu system:
1 | NAME="Ubuntu" |
For some systems, such as Ubuntu/Debian, you need to install yum:
1 | sudo apt-get update |
3. Check the kernel version; the OS is required to be 3.10.0 or above
1 | [root@centos-01 /root]#uname -r |
Check Memory
1 | free -g |
Enterprise applications require a minimum of 64G, with 256G or more recommended
If, with free -g

the memory shown in the free column is less than the memory_limit setting in the configuration file, you need to clear the cache or modify the memory_limit setting, lowering memory_limit below the value in the free column. The cache-clearing operation is as follows
1 | # echo 3 > /proc/sys/vm/drop_caches |
Check Disks
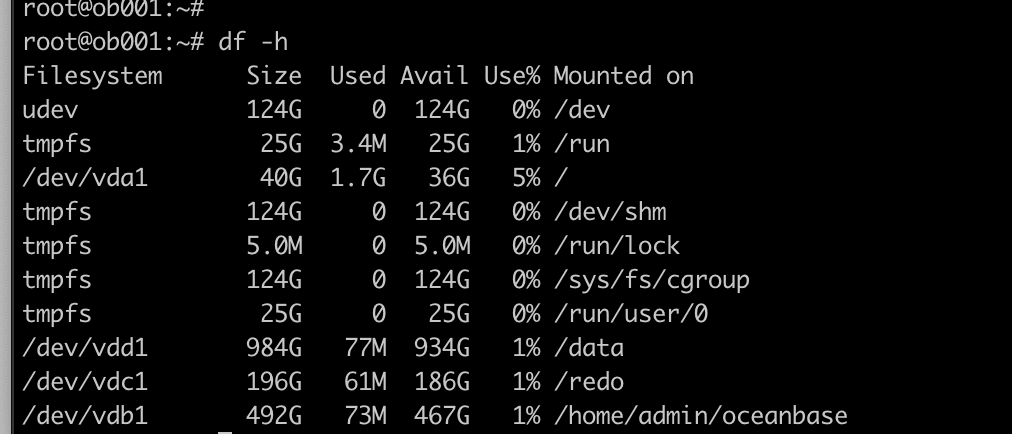
Ensure that the disks corresponding to data_dir, redo_dir, home_path in the configuration file have been mounted, that the directories for data_dir and redo_dir are empty, and that the disk usage of the directory corresponding to data_dir is below 4%.
Check the Network Card Name

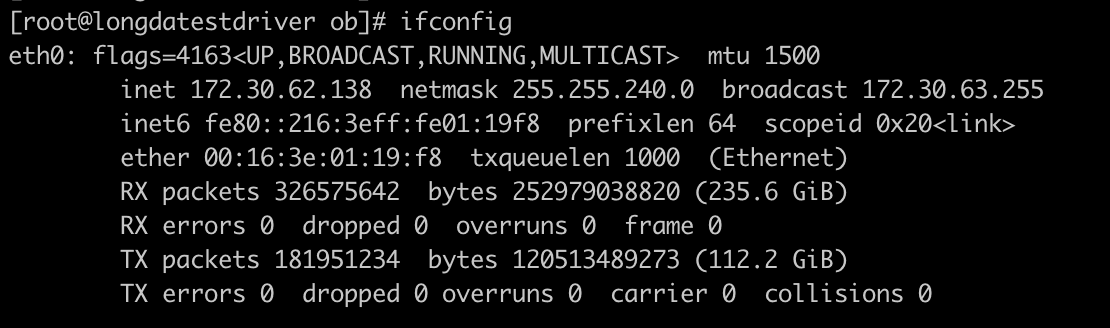
In the configuration file, there is a configuration item “devname” that needs to specify the network card. When starting the OBServer service, you need to specify the network card via the “-i” parameter. A server may have multiple network cards and multiple IPs, and communication between OBServers depends on the specified network card and IP. You can use the ifconfig command to view network card names (you need to install the net-tools dependency package first); just make sure a valid network card exists.
In this example:
Configure limits.conf
ulimit is used to limit the resources consumed by processes started from the shell. For personal testing, you can skip this setting, but enterprise users must set it.
There are two ways to modify resource limits: one is to specify them at the session level at startup, and the other is to modify the /etc/security/limits.conf configuration file, which takes effect globally.
The limits involved for the OBServer process include the maximum thread stack size (stack), the maximum number of file handles (open files), and the core file size (core file size).
As shown below, when starting the OBServer process, set the maximum stack size to unlimited, the maximum number of file handles to 655350, and the core file size to unlimited at the session level
1 | $vi /etc/security/limits.conf to add |
Exit the current session and log in again
Check whether the configuration has taken effect
1 | ulimit -a |
Configure the “sysctl.conf” File
To ensure OceanBase runs properly, please modify the “/etc/sysctl.conf” configuration on all physical machines before installing OceanBase (to improve Linux system performance).
Some parameters have already been set in advance by the operating system
1 | # for oceanbase |
Here, in “kernel.core_pattern = /data/core-%e-%p-%t”, /data is oceanbase’s data directory. Also, for personal testing, you can set only “fs.aio-max-nr=1048576”.
1 | # apply the configuration |
Disable the Firewall and SELinux
You can skip this for personal testing, but it is recommended for enterprise users.
Disable firewalld
1 | # run these 3 commands in order |
Disable selinux
vi /etc/selinux/linux
1 |
|
Run this command
1 | setenforce 0 |
Set Up Clock Synchronization
You can skip setting up clock synchronization in any of the following situations:
- The NTP clock is already in a synchronized state
- Deploying a standalone (single-machine) version
- Personal testing
The time on all servers in an OceanBase cluster must be kept consistent; otherwise the OceanBase cluster will fail to start and faults will occur at runtime. For enterprise users, clock synchronization is extremely, extremely important. A deviation between the physical machine and the clock server of under 50ms can be considered synchronized; the maximum tolerable deviation must not exceed 200ms. When it exceeds 200ms, a no-leader situation occurs; after clock synchronization is restored, restarting the observer can restore the state.
Check Clock Synchronization
1 | sudo clockdiff $IP |
Configure Clock Synchronization
Installation
Installation Package Components
Download all the installation packages from https://open.oceanbase.com/softwareCenter/community. The package versions shown in this article may already be outdated; please download the latest versions of the packages from the open-source OceanBase official site.
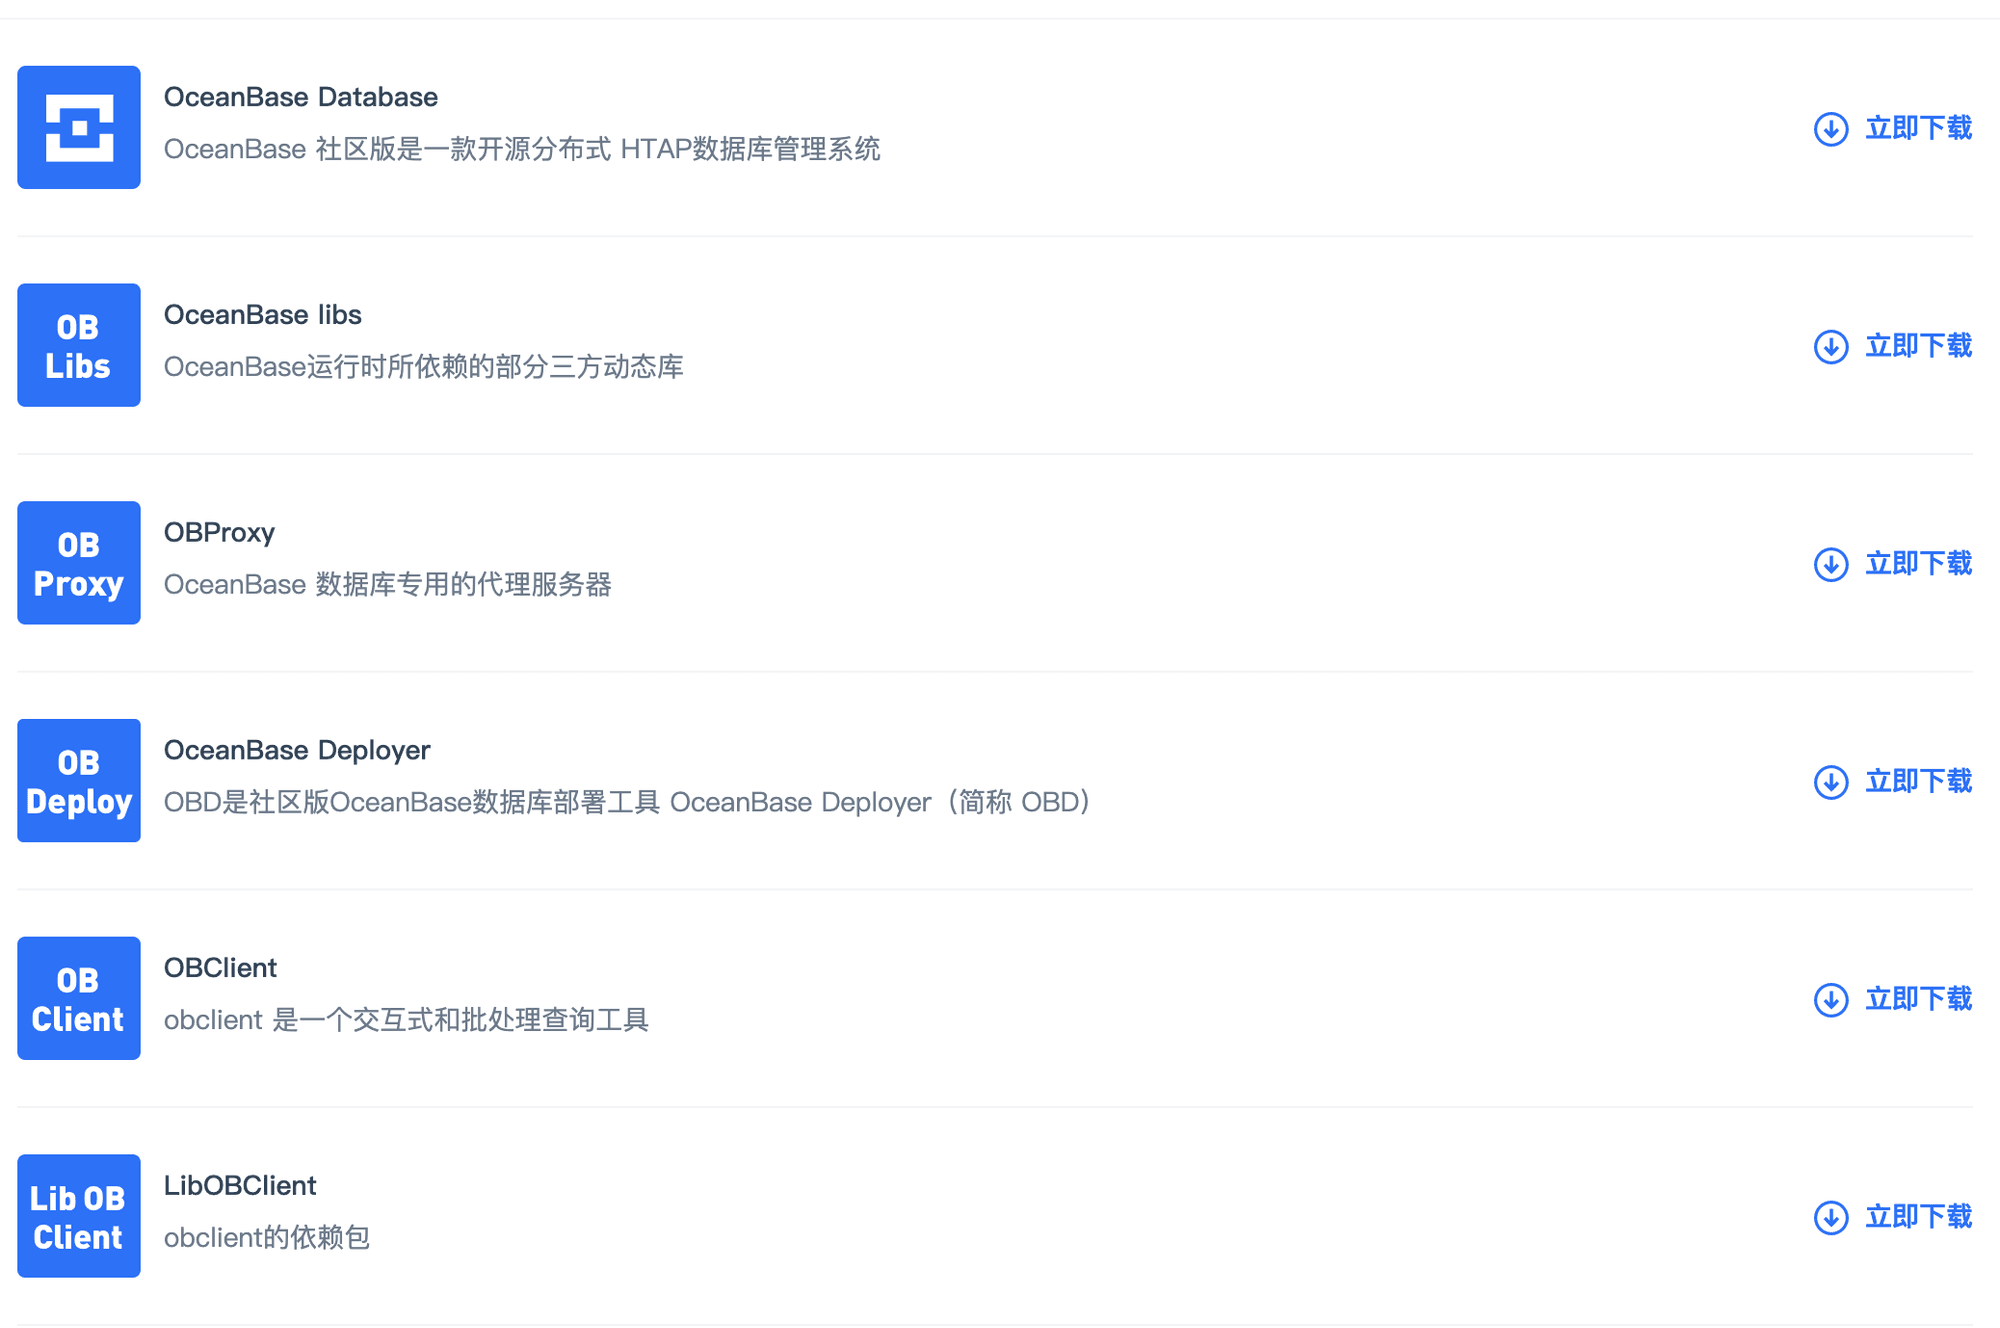
If your machine can access the public network and can add third-party YUM software sources, you can run the following commands to install OBD using OceanBase’s official software source:
1 | sudo yum install -y yum-utils |
scp all the software packages to the control machine
Install OBD
Use the root user for now; this operation is performed only on the control machine
Online Installation
1 | yum install -y ob-deploy |
Local Installation
centos or redhat
1 | yum install ob-deploy-1.1.0-1.el7.x86_64.rpm |
Ubuntu/Debian
1 | alien -i ob-deploy-1.1.0-1.el7.x86_64.rpm |
Install OBLibs
Use the root user for now; this needs to be run on every machine.
Online Installation
1 | yum install -y oceanbase-ce-libs |
Local Installation
First copy oceanbase-ce-libs-3.1.0-3.el7.x86_64.rpm to every machine
centos or redhat or anolis
1 | yum install oceanbase-ce-libs-3.1.0-3.el7.x86_64.rpm |
Ubuntu/Debian
1 | alien -i oceanbase-ce-libs-3.1.0-3.el7.x86_64.rpm |
Install OBServer & OBProxy
Switch to the admin user
Add the OceanBase database offline packages to the local mirror
1 | admin@obdriver:/data/rpm$ obd mirror clone *.rpm |
1 | admin@obdriver:~$ obd mirror list local |
Download the Configuration Files
Download all the configuration files from https://github.com/oceanbase/obdeploy/tree/master/example/autodeploy
There are currently several configuration files:
- distributed-example.yaml : distributed example
- distributed-with-obproxy-example.yaml : distributed example with obproxy
- single-example.yaml : single-machine example
- single-with-obproxy-example.yaml : single-machine example
In this example, we use the distributed example; we scp the distributed configuration file to the control machine.
Modify the Configuration File
In this example, we use distributed-with-obproxy-example.yaml as the example
1 | ## Only need to configure when remote login is required |
1 | ## Only need to configure when remote login is required |
Modify the username and password
Typically, a few of these variables need to be set by hand: the IP of each machine, plus home_path, data_dir, and redo_dir. In this example, they are changed to /home/admin/oceanbase/ob, /data/ob, and /redo/ob respectively—the disks mounted earlier.
1 | oceanbase-ce: |
Configure the proxy, modifying the IP and home_path
1 | obproxy: |
I also recommend a website, https://www.bejson.com/validators/yaml_editor/, which can perform YAML validation on the configuration file. Very often, an extra space or a missing space in a configuration file is extremely hard to spot.
Start the Installation
For an offline installation, there is one step to perform: when you cannot connect to the server, you need to delete the remote repo configuration to avoid wasting time on connecting to the remote repo.
1 | rm -fr ~/.obd/mirror/remote/*.repo |
Start the installation
1 | admin@obdriver:~$ obd cluster autodeploy obtest -c distributed-with-obproxy-example.yaml |
Check whether the installation succeeded
1 | admin@obdriver:~$ obd cluster list |
1 | admin@obdriver:~$ obd cluster display obtest |
Modify the Configuration
The OceanBase database has hundreds of configuration items, some of which are coupled. Until you are familiar with the OceanBase database, we do not recommend modifying the settings in the example configuration file. This example is intended to illustrate how to modify a configuration and make it take effect.
For an introduction to all parameters, refer to
1 | https://github.com/oceanbase/obdeploy/blob/master/plugins/oceanbase/3.1.0/parameter.yaml |
1 | # Use the edit-config command to enter edit mode and modify the cluster configuration |
Verification
Install obclient
obclient is typically installed on the control machine; you need to switch to the root account
Online Installation
1 | yum install -y libobclient |
Local Installation
centos or redhat or anolis
1 | yum install libobclient-2.0.0-2.el7.x86_64.rpm |
Ubuntu/Debian
1 | alien -i libobclient-2.0.0-2.el7.x86_64.rpm |
On debian, you need to add the path to the system environment variables
1 | export PATH=/app/mariadb/bin:$PATH |
On ubuntu, you need to add the path to the system environment variables
1 | export PATH=/u01/obclient/bin:$PATH |
Install the MySQL Development Packages
If you need to run sysbench, tpch, or similar programs, you need to install the MySQL development packages
centos or redhat or anolis
1 | yum install mariadb |
Ubuntu
1 | apt-get install mariadb-server |
Debian
1 | apt-get install mysql-server mysql-client libmariadbd18 libmariadbd-dev |
Check Tenants
To use oceanbase, you need to create a tenant; real user applications must run within a tenant.
There are 2 ways to create a tenant:
You can use obd to create a tenant; when creating a tenant with obd, it allocates all the resources
1 | obd cluster tenant create ${cluster_name} -n ${tenant_name} |
To create a tenant, refer to
https://open.oceanbase.com/docs/community/oceanbase-database/V3.1.0/create-a-user-tenant
In this example:
1 | admin@obdriver:~$ mysql -h${obproxy_ip} -P${obproxy_port} -uroot |
Best Practices for Enterprise Users
Disks
The OB runtime logs, transaction logs, and data files must be kept separate. If there are not 3 disks available, you can partition a single disk into 3 partitions.